
- Can You Flush Toilet Seat Covers or Not? - September 15, 2023
- How to Make Sure Gas Stove is Off? – Quick Methods - September 15, 2023
- Can An Air Mattress Burst or Not? – (Little Known Facts!) - September 15, 2023
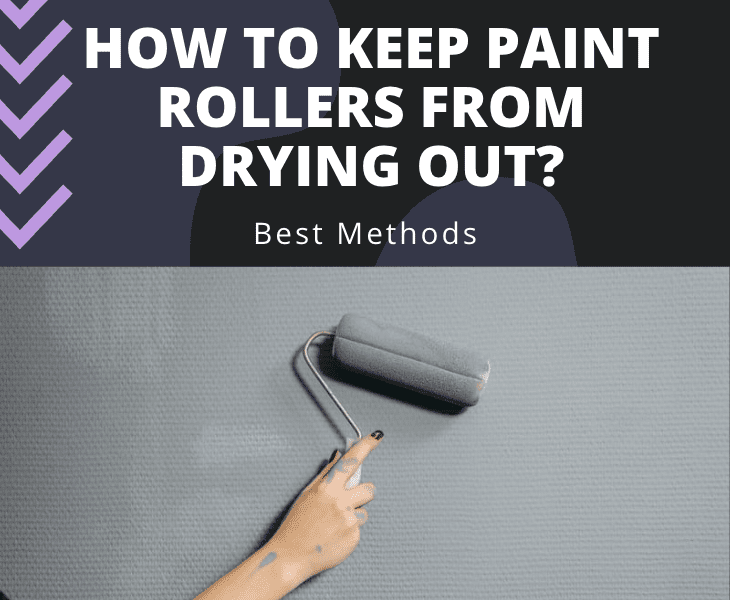
Knowing how to keep a paint roller from drying out can be very useful information for you as a professional or non-professional painter.
The good news is that I am here to show you how to keep your paint rollers or brushes from drying up.
You’d have them going for longer hours, overnight, or even for a few days until you are totally done painting.
It would also help improve its shelf life.
The best and easiest method to keep your paint rollers from drying out is to put a thick coat of paint onto the brush or roller. Then cover the roller or brush in plastic wrap and then store it temporarily until you are ready to use it again.
Why You Should Keep Your Paint Rollers From Drying Out

You might be wondering, why should I keep my paint rollers from not drying out. Why can’t I simply use it, leave it like that and come back to use it again?
Well, it doesn’t work that way. There are a few reasons I would give you why you should keep them wet till next time.
When you have a drying paint roller, it can make your job harder than usual, especially if you only need to take a short break while working.
It can even damage the rollers and brushes and render them useless for the next painting job.
So putting all of this in mind, let’s consider why it is important to keep paint rollers from drying out.
Reason #1: Dried-Out Paint Rollers Are Almost Useless
I used the word ‘almost’ because a paint roller that can no longer perform its job the way it is meant to be is really useless.
A dried-out roller has its bristles rumpled out and scattered and it might take a long time with a lot of paint to bring it alive a second time.

Reason #2: Saves You A Lot Of Time
The time you would have spent to bring the rollers back to life would have been better spent doing something else if only you can keep your rollers from drying out until you are ready to use them again.
You would have to spend some time scraping out the dried and flaky paint before re-immersing in paint to get it back up. Not worth it, in my opinion.
Reason #3: Saves You Money
Some paint rollers might become irredeemable after drying out so.
To avoid this occurrence, it would be best for you to just keep them properly so they can remain perfect and ready to use the next time.
Of course, this is a preferable option instead of buying new ones entirely.
How To Keep Paint Rollers From Drying Out?
Paint rollers and brushes can dry out quickly and it is up to you to stop the process as fast as possible.
You have to take extra care especially when you know you are not done painting and will resume soon.
When these rollers and brushes dry out, it can make them unfit for use in just a few hours or overnight.
When you keep your paint rollers from drying out, you are saving money that would have been used to purchase another paint roller. Also, you are keeping the environment safe in your little way.
Note: A dried out roller would be useless to a painter as it can no longer produce a smooth painting streak.
When you want to store your wet paint rollers for some hours, you should make sure to take care to do so the right way.
Follow the steps I highlighted below for an excellent result on how to keep a paint roller from drying out.
Step #1: Coat The Rollers With Some More Paint
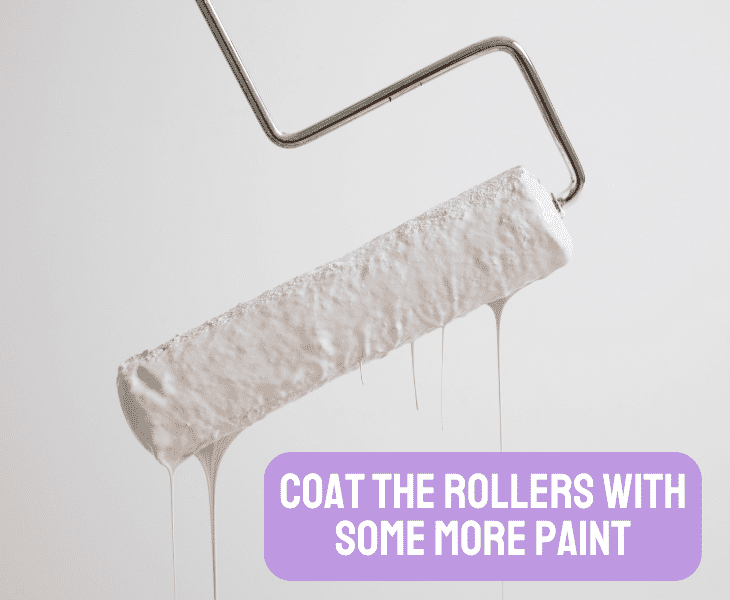
The wetter the brush is, the longer it stays before getting dry.
You might want to store the brushes without extra coating and that is not a problem at all but for a better result.
I would advise that you should coat your brushes and rollers with extra paint before wrapping them. And this will buy you more hours before it starts to get dry.
Step #2: Wrap Your Rollers With Aluminum Foil
This practice is not as common as the plastic wrap style but it is very efficient in keeping your paint rollers till the next time you want to use them.
Aluminum foil will help lock in the moisture present in your paint rollers and prevent it from drying out quickly.
In fact, I think this is the best option for wrapping your rollers and brushes. You only have to wrap it tightly and press the edges to prevent air and water from getting in.

This would also help your rollers last longer than expected.
Whenever you are ready to use your rollers again, you can just clean it up with a little hassle and get your perfect painting exercise back on track.
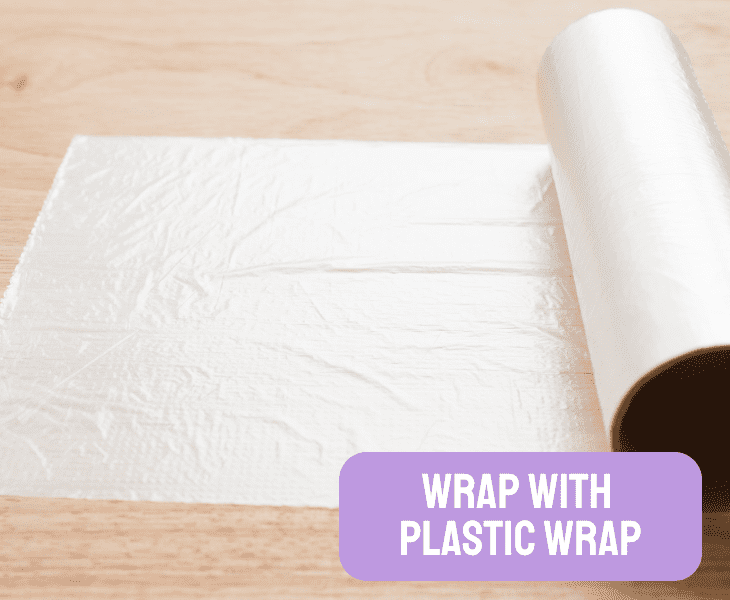
Step #3: You Can Substitute Aluminum Foil With Plastic Wrap
Plastic wrap is the most common because it is cheap and easy to come by. It is also very easy to use.
You only need some wraps and a glove to prevent your hands from getting messy with the paints.
After coating your rollers with an extra layer of paint, you will wrap a plastic bag around it tightly until you are sure it is well secured and can’t fall off.
Roll it a couple of times more until you are very sure you have covered all areas on the rollers, and at the same time, prevent air and water from gaining access to the roller.
Quick Tip: Make sure that air is completely sucked up from the plastic wrap because leaving air in the plastic wrap can cause the brush to dry up.
Step #4: You Can Aso Wrap In A Wet Towel
This can be done in addition to plastic wraps. The goal is to ensure that your brushes will be in perfect wet condition after saving them for a period of time.
You can use wet rags if you don’t want to waste your clothes.
You can wrap the rollers with a wet towel and then rewrap them in plastic wraps until all sides are covered completely.
Quick Tip: The wet towel will help prolong the wetness of the brushes by adding constant moisture to the paint brushes.
Step #5: Keep It In The Refrigerator
Apart from hard surfaces that are not exposed to the sun, the refrigerator is another good place to keep your paint rollers and brushes.
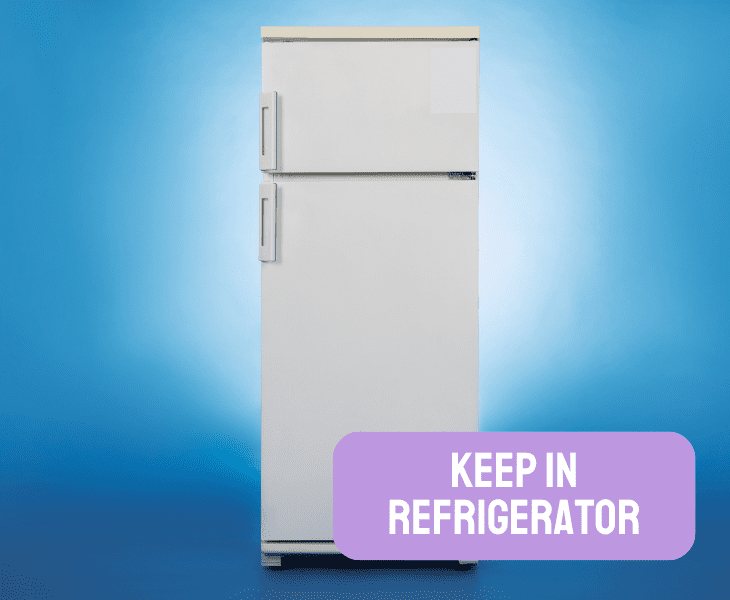
It is most effective when you want to keep them overnight. The humidity level in the refrigerator is high and would definitely prevent the brushes from getting dry or flaky.
After wrapping the brushes totally with either plastic wrap or aluminum foil, keep them in the refrigerator away from consumables.
You need to take extra care that your food items are not placed in the same compartment as your brushes to prevent contamination.
Quick Tip: Do not keep your brushes or rollers inside the freezer as freezing has no benefit for your wet paint rollers.
How To Keep Paint Rollers From Drying Out Overnight
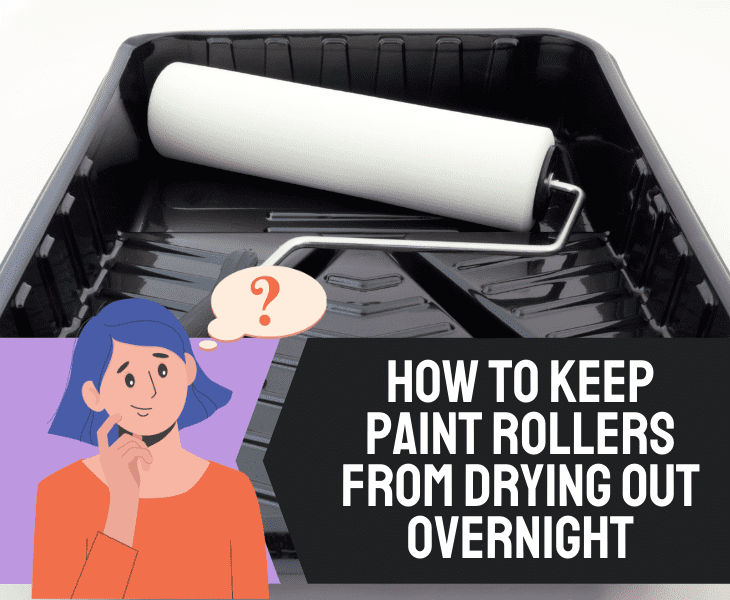
The best method to keep your paint rollers and brushes from drying overnight is to keep them wet all through.
Although, this does not mean you should soak them up in the water but you can follow these steps for the best result for your brushes overnight.
You only need to coat your brushes with another layer of paint. This will help the brushes stay wet overnight. Then you wrap it in a wet towel.
Using a wet towel is optional but to ensure that you get a very good result. You can now transfer this to the refrigerator for a better result.
Note: Transfering the brush to the refrigerator will make sure that the state of the brush is kept as it is for the next 24 hours at least.
So, what should I do?
After an extra coating, you can wrap it with aluminum foil, plastic wrap, or a wet towel. It is entirely up to you based on the resources that are currently available.

They would all do a good job but personally, I would absolutely recommend aluminum foil for the best results.
Conclusion
So, you must now understand how to keep your paint rollers from drying out.
In this article, I have analyzed step by step the practices that would efficiently help you to keep your paint rollers and brushes from drying out.
Leaving your paintbrushes and rollers to dry out can cost you a lot.
Dried-out brushes result in a terrible painting experience that might lead you into buying an entirely new set of brushes or rollers.
If you want to be cost-effective, it is very necessary to follow the best practices I highlighted above.
Try out this method and let me know the kind of results you got. Happy Painting!