
- Can You Flush Toilet Seat Covers or Not? - September 15, 2023
- How to Make Sure Gas Stove is Off? – Quick Methods - September 15, 2023
- Can An Air Mattress Burst or Not? – (Little Known Facts!) - September 15, 2023
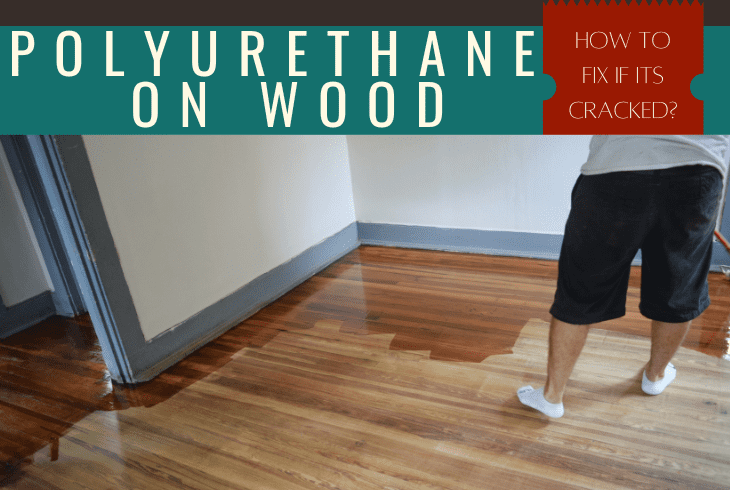
In this expedition, we will evaluate the means and the steps on how to fix cracked polyurethane on wood.
Polyurethane is used on wood to seal cracks on the wood, waterproof the wood surface, and increase its shine.
It is an agent used to protect wood against harsh climatic conditions such as UV rays and rain.
Polyurethane is a tried, tested, and approved wood coater, it is an apt wood filler with striking outcomes in making your wood long-lasting and elegant by giving it a smooth finish.
Nevertheless, it is the perfect water-impervious finish.
It forms a coating on the wood that can stand up against water, solvents, and scratches.
You can fix polyurethane on wood in the following ways: Cleaning and Mixing polyurethane and Coating application. For oily wood, you need to clean off the oil with a cleansing agent and leave it to dry before applying the film to the wood.
Why Is Polyurethane Effective?
Pertinent to wood finishing phases, polyurethane is a water-resistant wood finish that lasts longer than all other wood finishing techniques.
It is largely used to coat wood so as to shelter it from water and other destructive conditions that may affect the wood.
Be it the wood used to make furniture, fences, and flooring. Polyurethane works best to give a high-end outlook and water-resistant abilities.
Polyurethane wood sealers can be found in two sets, oil-based and water-based polyurethane.
In the end, you will learn how to fill cracks in wood with polyurethane.
Top 9 Things That Result To The Cracking Of Polyurethane On Wood

I have been in the wood-making industry for a while now.
I understand the mistakes people make while fitting or smearing polyurethane on wood.
How you do it defines if it will last or will be washed away in the short run.
Beneath are the blunders you could be making that would oblige you to fix the polyurethane every now and then.
Applying Polyurethane on Rough Wooden Surfaces
Before painting polyurethane on a surface, you have to check to confirm that the surface is smooth.
Rough surfaces will crack the polyurethane as soon as it dries.
- Puddles in polyurethane finish
- Alligatoring
- Blushing
- Cratering
- Streaking
- Polyurethane runs
- Trapped insects or particles in the polyurethane finish.
- Discolored polyurethane
Bubbles in Polyurethane

Various aspects might cause bubbles in a polyurethane finish. Before using the polyurethane can, give it a good shake.
Air can be trapped inside the polyurethane container by shaking it before applying it to the wood.
Once the polyurethane is applied, the trapped air might cause bubbles, which would be difficult to avoid.
Below are the causes of bubbles in polyurethane and how they can be fixed.
Wiping the Brush on the Polyurethane Can’s Side
Air bubbles can be trapped inside the brush fibers by brushing the brush on the sides of the polyurethane container.
The air bubbles then combine with the polyurethane when it is applied to the wood surface, hardening and causing permanent bubbles in the polyurethane surface.
Tip: Desist from wiping the brush on the can of the polyurethane to avoid the buildup of air in the brush.
Poor Brush and Surface Preparation

You must clean the wood surface and prepare the brush by soaking it in the solvent before applying the polyurethane finish.
If not, air bubbles might form between the ferrule and the bristle.
Tip: Soak the brush in clean water or a solvent before applying the finish.
Using the wrong brush type
Selecting the incorrect brush type may cause the process to proceed unevenly and will not work well with a polyurethane finish.
Brushing will be difficult if the application surface is incompatible with the brush type, and bubbles are likely.
Polyurethane Discoloration
Polyurethane begins to discolor from wood over time.
The time it takes for discoloration to occur depends on the quality and quantity applied on the wood surface.
Factors such as UV sunlight rays, Oil-based polyurethane finish, Moisture, and minerals are significant in causing discoloration.
How Do You Fix It?

The main causes of discoloration are natural hazards, factors such as extreme rain or sunlight will wash away the coating leading to discoloration.
The best way to keep this effect at bay is by applying the finish from time to time.
Also, shading the wood can protect the wood from discoloration.
Shading reinforces a shelter that protects the coating against extreme weather conditions. This makes the polyurethane last even longer.
Separation of the Polyurethane Coating
You may notice that the Polyurethane coating on your wood starts to separate after some time.
The separation can be happening as a result of the following reasons.
- Poor mixing of the polyurethane.
- An expired polyurethane finish.
- A contaminated finish.
- Presence of dust particles on the surface of the wood during coating.
- The wood is oily and greasy.
- Applying the coating is very thick layers.
How to Fix Cracked Polyurethane on Wood

You should know how to fix cracked polyurethane on wood by following the below steps;
Materials to be used
- Polyurethane (oil or water-based)
- Foam brush
- Tack cloth
- Sandpaper (220)
- Orbital sander
- Gloves
- Craft stick
Step #1: Check the Expiry Date
Check to see the date of expiry of the Polyurethane.
Do not risk applying an already expired product to the wood. Instead, find a new one from the retailers near you.
Step #2: Clean the Surface of the Wood

Before applying the polyurethane coat to the wood surface, make sure that you clean the wood beforehand.
Be sure that the surface of the wood is well polished.
This is not only applicable to polyurethane topcoats, but also to the best paintwork and wood stains removal projects.
The surface of the wood should be smooth enough, and not rough when touched.
Also, make sure there is no dust or dirt. You can use a tack cloth to remove dust and dirt.
Tip: Once you apply the first layer, leave it to dry and wipe the dried layer softly before adding the final layer.
Step #3: Mix the Polyurethane

Wear chemical-resistant gloves when handling polyurethane.
Use a wooden stir bar, plastic spoon, or craft stick to stir the polyurethane before use.
On mixing the polyurethane, you do not have to shake the entire can, instead, while using a clean stick, mix the polyurethane without shaking the can.
Tip: Do not shake the polyurethane as it may cause bubbles during application.
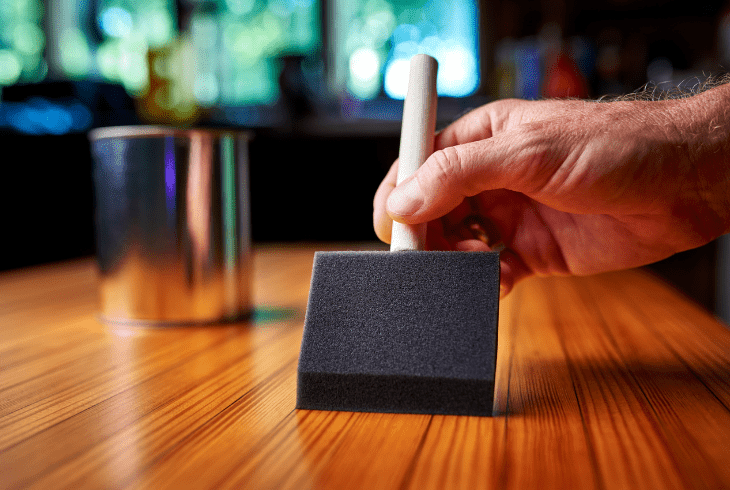
Step #4: Apply Coating
To apply polyurethane on wood, make use of a foam brush and apply lightly with a long stroke to avoid the stroke of the foam brush.
If any part of the polyurethane becomes too strong, lightly return that area with one long stroke.
It is important to do this at the top edge after applying polyurethane to the edges by the side. This is because it does not require heavy drips or areas.
Tip: Do not also apply the coating in thick layers, thick layers of polyurethane may take longer to dry and crack once they do.
If the wood is oily or greasy, applying the polyurethane is a waste of it.
You need to clean the oil off with a cleansing agent and leave it to dry before applying the film.
Scratches on the Polyurethane Finish or the Wood

A cracked wood, with holes and crevices, will definitely lead to a cracked polyurethane coating.
Scratches on wood may happen over time as a result of aging, rotting, or being overused.
During coating of the surface with polyurethane, these cracks too may happen if the wood is not handled with care.
How to fix
You have to identify the scratches on the wood before applying or re-applying the coating.
Once you have identified the scratch, evaluate its intensity, if it is too deep, then you will have to use wood fillers to remove the gap before applying polyurethane.
Then, smoothen the surface softly with sandpaper to level it up. Once done, clean the surface and remove any fragments on the wood.
Tip: Once you are done with these procedures, cautiously apply the finish onto the wood in thinner films, and let one film dry before adding the final one.
Trapped Insects and Particles in the Wood

Opening and forgetting to close the polyurethane may trap insects, dust particles, and stones.
Polyurethane is a sticky substance that once the insects get into the can, they are trapped once they perch on the substance.
Applying this coating to your wood with trapped insects or particles in it will lead to polyurethane cracking on the wood.
Also, these insects or dirt may land on the polyurethane surface once you have applied it onto the wood,
You are therefore advised to wait until the polyurethane is dried before removing the insects or dust particles.
Once you have removed them, slightly paint polyurethane over the surface to remove the particles or insects.
Quick Tips to Help You Fix Polyurethane on Wood

The tips below are a summary of how to fix cracked polyurethane on wood.
- Sanding and reapplication of the polyurethane finish will help.
- Wash the cracked area with a fine cloth before applying the coating/.
- Gently brush polyurethane on the wooden surface.
- Do not apply loads of polyurethane but instead do it in thinner films, letting each dry before applying the finishing.
Conclusion
Knowing how to fix cracked polyurethane on wood is easy if you follow this article’s guidelines.
Polyurethane is the best coating agent for woods, it helps in protecting the wood from water and sunlight it might be exposed to.