
- Can You Flush Toilet Seat Covers or Not? - September 15, 2023
- How to Make Sure Gas Stove is Off? – Quick Methods - September 15, 2023
- Can An Air Mattress Burst or Not? – (Little Known Facts!) - September 15, 2023
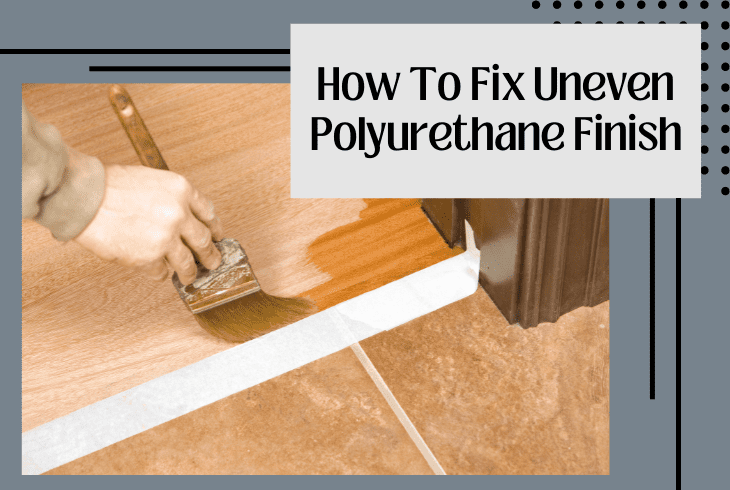
How to fix uneven polyurethane finish is something you need to so badly know.
Have you applied polyurethane and after it has dried you realize it is uneven?
You’d notice that it’ll leave the surface ugly.
Come along with me and learn simple steps on how to fix uneven polyurethane finish on the floor and other surfaces.
First, wipe a surface with unevenly applied polyurethane with a clean cloth. Re-sand the surface and apply polyurethane again, then repeat the entire process till you get the desired result.
Why Your Polyurethane Finish Might Be Uneven
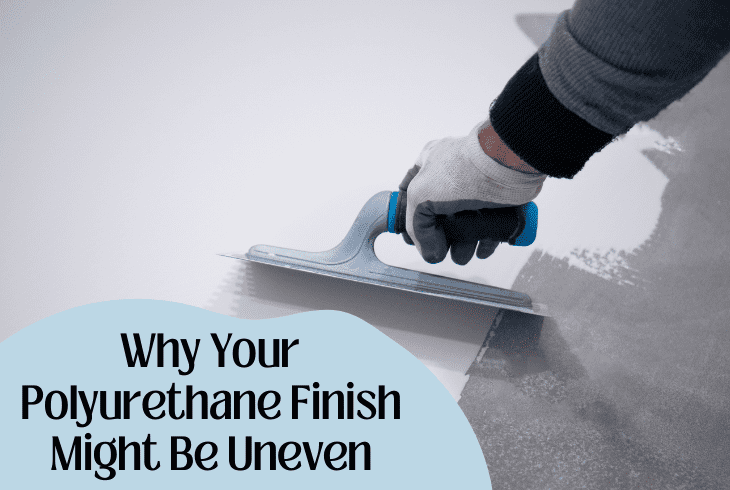
Now, before we get to fixing uneven polyurethane finish, you may want to also know why your polyurethane finish ended up poor.
This is because you do not want to make a similar mistake next time and so that you are not charged with another task of reapplying polyurethane finish on either of your surfaces.
If you do not know the mistakes that you made that led up to the polyurethane finish being poor, then below are some of the reasons behind it.
Bubbles In The Polyurethane Can
The most common reason behind an uneven polyurethane finish is the presence of bubbles in the can.
Before you begin applying the polyurethane to either your furniture or surfaces and end up shaking the can before doing it, bubbles cloud the can and will bulge upwards and most probably dry out, remaining visible on the surfaces.
Dirty Surfaces

Before you begin applying polyurethane on whatever surface you plan to, it is in order that you first clean them free from dust and debris.
Applying the coating on dirty surfaces makes things even a lot worse.
Although you might be improving the shine, the dirt particles will cause unevenness on the surface once the polyurethane has dried out.
Tip: Using a dirty brush will also cause unevenness on surfaces painted with polyurethane.
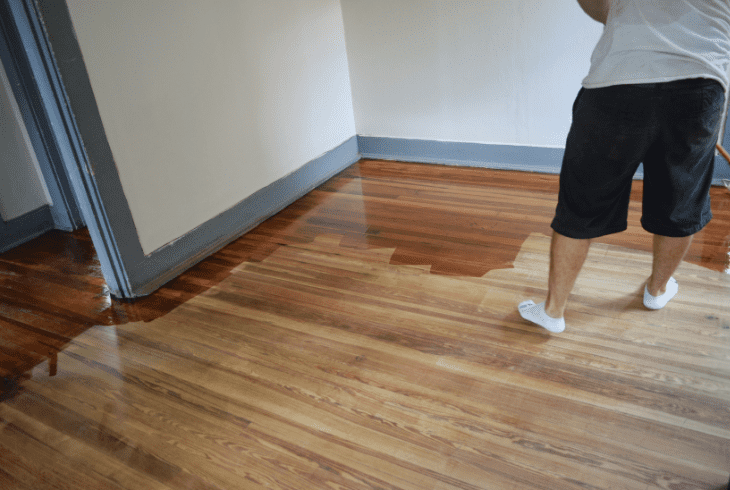
How To Fix Uneven Polyurethane Finish On Floors
Polyurethane plays a crucial role in shielding your surfaces from stains.
It also helps shield other unfriendly conditions that may trigger and speed up the wearing out of your surfaces.
Polyurethane as well helps to improve the shine of your surface, making it spectacular and admirable.
However, if it got out of hand while you were applying the finish you may wish to fix that.
By doing so, you can still make it appear as attractive as you would have liked it to be.
By making that mistake, you learned a few things about applying polyurethane on surfaces.
So, since I am here to help you rectify your mistake, then it is my pleasure to show you how to fix a bad polyurethane job.
Below are the simple procedures you are to follow.
Following these steps will ensure that you fix the polyurethane finish on your surfaces from uneven to even.
What You Will Need
While at it, you will need the following materials. They will help you with reapplying the finish so that it is visually appealing.
- Polyurethane
- Brush
- A piece of cloth
- Sandpaper
- Utility knife
- Safety eye goggles and
- A Respiratory mask.
Procedures You Are Required To Follow
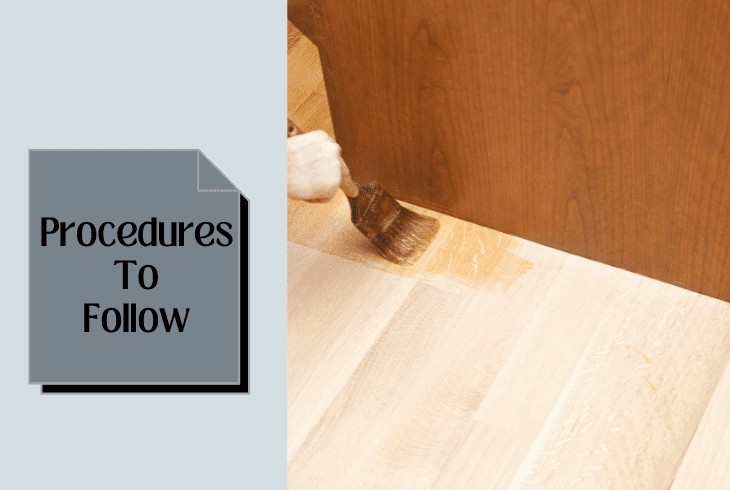
Remember that you are going to be reapplying polyurethane on a surface that already was. But because the job was not satisfactory, it is so that you fix that.
Truth, this is not going to be a walk in the park, you are most likely going to break some sweat.
However, for the good of your surface, you must do this. Follow the following procedures to restore the impression of your surfaces.
Allow The Surface To Completely Dry Out
As soon as you realize that you have an uneven coating of polyurethane, plan to fix it in good time to even.
First, leave the first coating to dry before applying another coating of polyurethane.
If you notice this a few minutes or hours after the painting, then relax.
Just leave it to dry for another twenty-four hours before getting to work.
Tip: Polyurethane takes a minimum of twenty-four hours while painted on surfaces to dry

Sand The Surface
Once the surface has dried, get sandpaper and begin to sand the surface.
Also, ensure that the surface you are sanding has completely cured and dried.
Stop when you realize it has not to leave it to dry out completely.
If it has, and it is slightly without using a lot of energy or force as this might damage the surface.
Tip: While sanding the surface, only ensure that you use fine-grit sandpaper.
Clean The Surface
Many reasons might have largely contributed to the unevenness of the surface you had coated with polyurethane.
One of which may be because you did not clean up the surface enough. You probably applied the polyurethane on a dirty surface.
So, you are not going to make the same mistake again at this point. That is why you have to first leave the surface to dry and sand it with a fine-grit sandpaper.
Once you do so, then clean the surface with a piece of cloth dutifully until all the dirt and debris are gone.
Repeat this again and again until you are sure that indeed the surface is clean.
Reapply The Coating

To save yourself from the exhaustion and fatigue that comes with this job, carefully reapply the coating. Do so evenly and cautiously with a lot of skill.
Apply light coatings of polyurethane using a clean brush without shaking the container.
If accidentally, you again apply a thick coating of polyurethane, sand it, and apply thinner films to it.
Leave the surface to dry and check to see if there are any irregularities.
If there are any, repeat the process until you are satisfied with the work done.
You would know that the work is properly done when there are no visible clouds of unevenness on the surface.
Note: Polyurethane produces a gas that is quite unfriendly to your respiratory system
So while painting, always makes sure that you are putting on a face mask and hand gloves for your safety.
Leave The It To Dry
Once you fully have the polyurethane surface fixed you will definitely be happy with what you see.
If it was plastered on furniture, carry it to a well-ventilated area and leave it to dry.
Allow it to dry for up to 24 hours before touching its surface again.
FAQs

When And Why Should You Sand Polyurethane Surfaces?
Now, before you begin painting polyurethane on surfaces, sand them to level the surface.
You can also sand a polyurethane surface when you are not content with what has been done previously.
In such an event, sand the surface before reapplying a new coating of it.
What Do You Do When The Brush Is The Problem?
At times, you might be doing everything right but still, end up with an uneven polyurethane finish.
If you are not shaking the can, you are cleaning the surface well and leaving it to dry before sanding.
Then at this point, check the brush you are using, it might be too dirty.
Perhaps it has been used to paint elsewhere before, clean it under a tap of running water.
Or instead, get a new brush, a lamb’s wool, or a foam brush.
Read Next: Can You Put Polyurethane Over Polycrylic? An Answer!
Conclusion
Finally, you now know how to fix uneven polyurethane finish. You can do it and you do not have to be repeating this now and then.
Just ensure that you do the right thing and all shall be well. But if you accidentally mess up, then you still could fix all this.
Luckily you can now do it without breaking a sweat because you have the procedure listed above.
Go get that surface sparkling with polyurethane. Hurry up now!