
- Can You Flush Toilet Seat Covers or Not? - September 15, 2023
- How to Make Sure Gas Stove is Off? – Quick Methods - September 15, 2023
- Can An Air Mattress Burst or Not? – (Little Known Facts!) - September 15, 2023
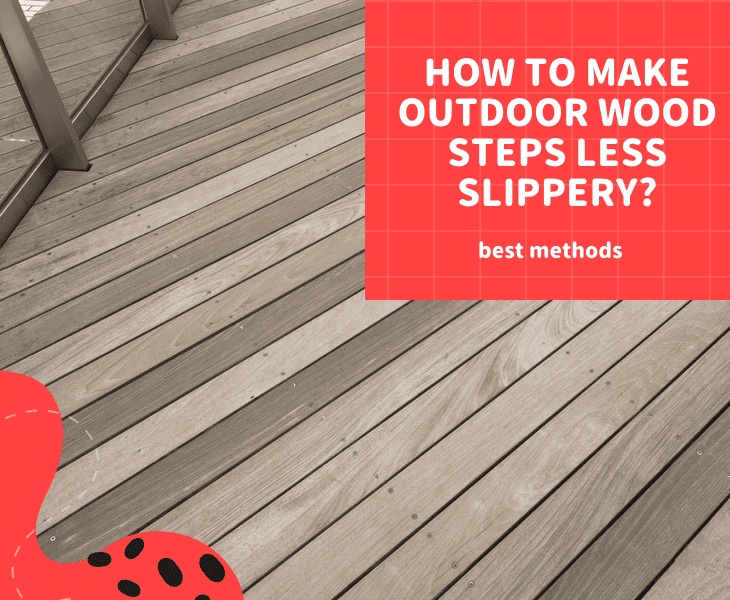
Knowing how to make outdoor wood steps less slippery is very important, especially during rainy seasons and winter.
The thing about wood steps is that no matter the season, it is always slippery.
I know firsthand how terrible it can be to have slippery steps and for those who don’t know, consider yourself lucky.
So I’ll be making sure the lucky ones stay lucky and the less lucky ones, myself included, do not have to experience such again.
Therefore, I would be basing this article on how to make wooden steps less slippery.
There are several ways to make wood steps less slippery. The option ranges from the most basic, which is adding sand to the more expensive approach like installing a snow-melting mat.
Why The Fuss?

Before we jump into the how, let’s talk about the importance of the why. Why is it so important to make outdoor wood steps less slippery?
Aside from the fact that it is undesirable, a slippery staircase is a major cause of accidents and death all around the world.
So the main fuss is because it is accident prone and safety is paramount.
How To Make Outdoor Wood Steps Less Slippery
Since we now know the importance of making outdoor wood less slippery we can now move on to the next part of this article.
As I said earlier, there are several ways to make your outdoor wood steps less slippery.
But here, we are only going to be discussing the most common and easily practicable.
Here are the methods involved:
Method #1:Sand
This is the easiest method which is why it is the first. It might be entirely practical but it is highly effective.
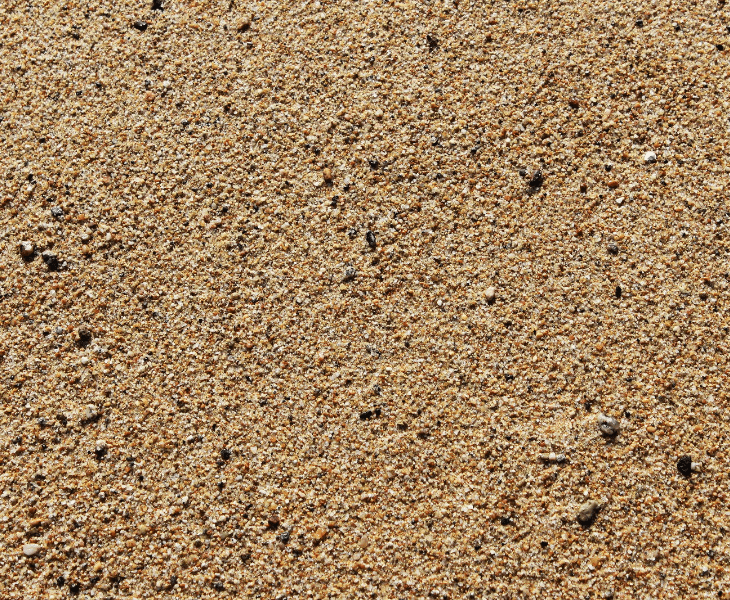
All you have to do is sprinkle little bits of sand on your stairwell. You can also make use of litter as an alternative to sand.
How slippery the stairs are would determine the quantity of sand used but do not be afraid to be generous with it.
This method is cheap, and accessible but has a lot of downsides.
It is not always as effective because the sand can be washed away by rain or blown off by the wind making it the worst option during weather situations.
Note: It's important to note that sand also dirties the environment because you carry the sand wherever you are going.
Method #2: Ice Melt
We are all familiar with ice melts and some of us even have some lying around from last winter.
Well, now is the time to put it to good use. It is quite easy, all you have to do is sprinkle on top of your stairs.
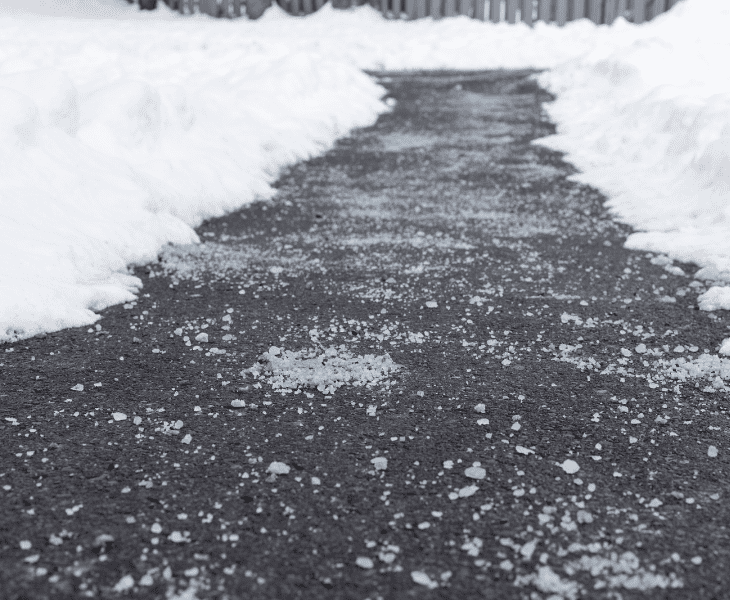
It would keep the stair as coarse as you need and also melt any ice that could be there. It also prevents the stairs from icing over and getting slippery.
Everything has its disadvantages and so does ice melting. Using ice melts also has its downside if you make use of the wrong kind.
If you use the basic ice melts used on sidewalks and driveways, it would damage or harm the wood of the stairs.
Instead of making use of sidewalk ice melts, you should use wood-friendly ice melts for wooden stairs.
It is not only wood friendly, but it is also environmentally friendly and pet safe. So, you wouldn’t have to worry about the plants or your pet getting harmed.
Method #3: Grit Paint
This is more of a killing-two-birds-with-one-stone kind of situation.
Grit paint is coarse floor paint used on places like stairwells, driveways, and the like to reduce wear and friction.
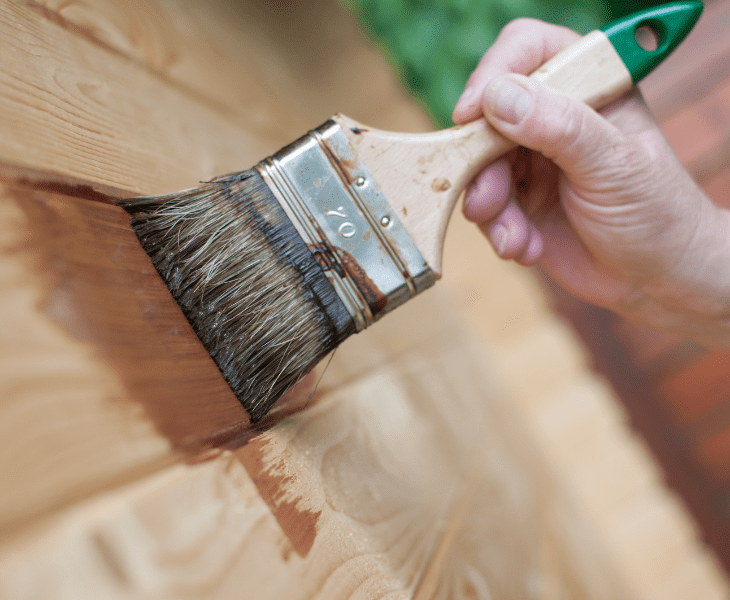
In the process of applying your grit paint to reduce friction on your stairwells, you would also have a fresh new coat of paint on your stairs.
You get a new coat of paint while making your stairs less slippery, which is what I refer to as killing two birds with one stone.
Note: Unlike all the other methods, using grit paint doesn't have its downside and is very neatly done with no complications whatsoever.
Method #4: Stair Grips
The most popular remedies for slick outdoor wood steps are stair treads and grips because they are quick and easy to install on your steps.

Some of them are in the form of rollups with adhesive at the bottom.
So all you have to do is unroll and tape it to your outdoor wooden steps. The rest are in the form of door mats that you just place down on each step.
They are also waterproof so you don’t have to worry about them getting damaged.
Is there any limitation?
There is a disadvantage to using door mats and tread but it can be easily remedied.
Most of those “anti-slip” treads and door mats don’t have adhesive or screws that can attach them properly to the stairs.

This means it would rarely stay in place and can cause even more accidents than your normal slippery steps.
As I said, it can be easily remedied, all you have to do is get your gum and screw to keep the tread and mat in place.
Tip: The next time you go shopping for treads and mats, make sure to look at the content of what you are buying to ensure it has adhesives.
Method #5: Snow Melting Mat
In cases where there is snow, there is a special mat made specifically for making snow disappear.
It has multiple functions but we are focusing on its two-in-one advantages.
Not only does it melt off snow, but it also serves as an anti-slip for your outdoor wooden steps.
It has an uneven and not smooth surface that reduces friction which in turn reduces slipperiness.
The installation can sometimes be tricky but as long as you have basic electrical knowledge about power sources, you are good to go.
Tip: When shopping for snow-melting mats, always go for the ones that can be easily installed.
Other Safety Measures
Now that we are all aware of how to make outdoor wood stairs less slippery, we should call it a day.
But there are still some safety tips that I can’t help but mention.

While all the methods listed above can make your stairs less slippery, there are still some additional things you can do to maximize that effect.
Option #1: Clean Constantly And Dry
Since the stairs are outdoors, it is constantly exposed to weather conditions like rain and dirt.
These two combined can make the stairs slippery.
This is why it is important to constantly clean your stairs and make sure to keep them as dry as possible.
Note: Wet stairs equal slippery steps.
Option #2: Make The Steps Visible
The edge of the steps should be painted with a brighter color to make it highly visible.
This would help in making out where your foot should go. Some of you might not want to ruin your aesthetic.

What you’d do is use a brighter shade or lighter color on your steps on the edge instead of going for a different shade entirely.
This would create the contrast you need and also maintain the aesthetic.
In case your stairs don’t have handrails, get one installed.
You can also install anti-slip decking boards if you can afford it, and there should always be proper lighting for the stairs.
If you consider all these, you should be able to have fewer slippery stairs.
Conclusion
Slippery steps can be a huge bummer and it is important to know how to make it less slippery, which is what this article has been based on.
I hope we are all now equipped with the knowledge of how to make outdoor wood steps less slippery.
So you can choose whichever method is convenient for you and be sure to practice the safety measures listed above.
We have gotten to the end of this article and I hope you put all this information to good use. Stay safe!